
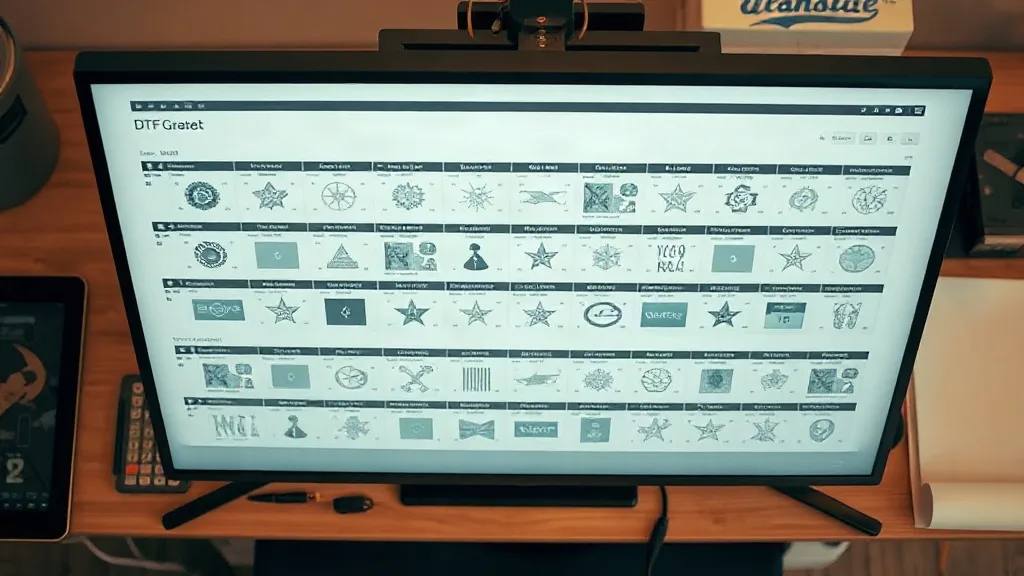
Most DTF shops lose film before the printer ever fires a single pass. It happens in the layout window, where a handful of transfers get dropped onto a canvas with generous margins and empty corners, and that wasted space becomes real money once the roll starts spinning. A DTF Gangsheet is only as efficient as the person arranging it, and the difference between a casual layout and a deliberate one often comes down to a few nesting habits that experienced operators treat as second nature.
The goal here is not to cram artwork edge to edge and hope the cutter cooperates. It is to understand how your printer, film, powder, and press actually behave, then arrange files so each meter of film carries as many sellable transfers as it reasonably can. Below are the techniques I keep coming back to after watching both small home setups and busy production floors handle gangsheets very differently.
Start With the Film Width, Not the Artwork
A common mistake is dropping designs onto the canvas one at a time, wherever they fit. That approach almost always leaves a ragged right edge and dead space in the middle. Instead, begin with the actual printable width of your film roll and treat that as a hard boundary. Everything else gets built inside it.
Once the width is locked in, group designs by height rather than by order or by color. A 3 inch tall logo and a 3 inch tall sleeve print can sit in the same horizontal band, while a 12 inch back print needs its own lane. Building the sheet in horizontal bands keeps the layout readable and makes it much easier to spot gaps you can fill with small add-ons.
Measure the usable area, not the nominal one
Film rolls are sold by width, but the printable area is slightly narrower because of edge hold and printer tolerances. I keep a small note taped near the workstation listing the true usable width for each roll size we stock. Laying out to the nominal width is one of the fastest ways to get clipped artwork and reprints, which wipes out any savings the tight layout created.
Rotation Is the Cheapest Optimization You Have
Turning a design 90 degrees costs nothing and can unlock space that seemed unusable. Long, narrow designs are the obvious candidates, but the trick works on medium shapes too. A row of tall, thin name tags rotated sideways can fill a strip that would otherwise sit empty above a block of larger prints.
There is a limit, though. Rotation should never push artwork past the film edge or into a zone where the powder shaker behaves inconsistently. Keep rotated pieces grouped together so the sheet still reads cleanly when you review it before sending to print.
- Rotate long, thin designs first, since they free up the most vertical space.
- Keep rotated clusters together rather than scattering them across the sheet.
- Avoid rotating designs that contain fine text, because some RIP settings handle rotated raster data less predictably.
- Check the preview after rotation, not just the layout window, since small shifts can appear at the edges.
Mind the Gaps: Too Tight Is as Costly as Too Loose
New operators often swing from one extreme to the other. They start with wide margins, learn that film is expensive, then pack designs so close that cutting becomes a nightmare. The right gap depends on your cutter and your design edges.
For designs with clean, straight borders, a small consistent gap is usually fine. For artwork with soft edges, gradients, or irregular silhouettes, a wider gap protects the final transfer from nicks and stray cuts. Whatever number you settle on, apply it consistently across the sheet. Inconsistent gaps are what make a gangsheet feel chaotic and slow to finish.
Leave room for the powder and press
Powder application is not perfectly uniform across the full width of a sheet. Edges and corners can pick up slightly less adhesive, and designs pressed right against the film boundary sometimes lift at the corners. A modest border around the entire layout protects the transfers closest to the edge and saves you from a batch of near-misses.
Fill Dead Space With High-Value Small Add-Ons
Every gangsheet has leftover pockets. The instinct is to leave them empty, but those pockets are free real estate if you plan for them. Keep a running list of small, fast-selling designs that fit almost anywhere: pocket logos, sleeve accents, small quotes, and tag-sized graphics.
When a layout leaves a gap wide enough for one of these, drop it in. Over a month of production, those small additions add up to a meaningful number of extra transfers that cost nothing beyond ink and a few seconds of layout time. The key is having the list ready before you start a sheet, because stopping mid-layout to hunt for a filler design is where the workflow falls apart.
Build Reusable Templates for Repeat Orders
If your shop handles recurring work, whether it is a team order, a school fundraiser, or a shop's standard product line, save the layout as a template. Rebuilding the same arrangement every week wastes time and invites small errors that lead to reprints.
Templates also make it easier to hand off work. A new operator can open a saved gangsheet layout, swap the artwork, and produce a consistent result without needing to reinvent the nesting decisions each time. Keep templates organized by film width and order type so the right one is easy to find.
Version your templates
Designs change. Colors get updated, logos get revised, and sizing shifts. When you edit a template, save it as a new version rather than overwriting the old one. That way, if a client asks for last season's layout, you still have it.
Review the Sheet Before You Print
The final check is where most wasted film gets caught. Zoom out and look at the whole sheet as a single image. Are there obvious holes? Are any designs too close to the edge? Does the layout look balanced, or does it feel like a rush job?
A two-minute review catches problems that would otherwise show up as clipped artwork, uneven powder, or a cutter that struggles with a crowded section. It is the cheapest quality control step in the entire process.
Frequently Asked Questions
How much space should I leave between designs on a DTF gangsheet?
There is no universal number, but most shops settle on a gap that matches their cutter's tolerance plus a small buffer. Straight-edged designs tolerate tighter spacing than soft or irregular artwork. The important thing is consistency across the sheet so cutting stays predictable.
Can I rotate designs to save film on a gangsheet?
Yes, and it is one of the easiest ways to reclaim space. Rotate long, thin designs first, keep rotated pieces grouped together, and always check the print preview afterward to make sure nothing shifted past the safe area.
Is it worth filling small gaps with extra designs?
It usually is, provided you have a prepared list of small, fast-moving designs ready to drop in. Those filler pieces cost almost nothing in extra materials and turn otherwise wasted film into sellable transfers.
Should I save gangsheet layouts as templates?
For any recurring order, yes. Templates reduce layout time, keep results consistent across operators, and cut down on errors that lead to reprints. Save new versions instead of overwriting old ones so you can revisit previous layouts when needed.
What is the biggest cause of wasted film on a gangsheet?
Inconsistent planning. Layouts built design by design, without a fixed usable width or a consistent gap strategy, tend to leave dead space and produce edge problems. Starting from the film width and building in bands solves most of it.