
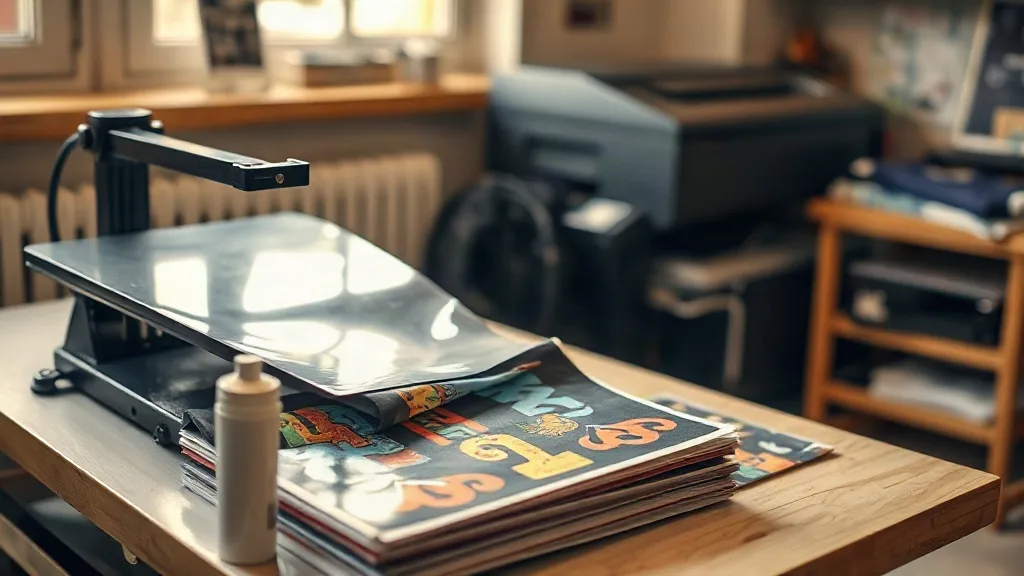
Walk into most small print shops these days and you will find a heat press sitting next to a desktop printer that looks suspiciously ordinary. That printer is probably running dtf transfers, and it has changed the economics of short-run apparel printing more than any single piece of equipment in the last decade. Unlike screen printing, which punishes small orders with setup time, or vinyl cutting, which struggles with photographic detail, DTF lets a two-person operation print a single full-color shirt at lunch and a run of forty by closing time. This guide is for the shop owner or side-hustler who is either considering DTF or already pressing film and wondering why some jobs peel, crack, or feel like cardboard.
What DTF Actually Does Differently
The process is straightforward on paper. A printer lays down a mirror-image design in water-based pigment inks onto a PET film. While the ink is still wet, a layer of hot-melt adhesive powder is applied, shaken off, and melted into the ink with a heat source. That film becomes a transfer you can store, ship, or press days later. When you press it onto fabric, the adhesive bonds to the fibers and the film peels away clean.
What makes dtf useful is the combination of three things: no weeding, no color separation, and no minimum order. You are not cutting anything by hand, and you are not mixing pantone inks. The design prints as a single unit, white backing included, which is exactly why it works on black and navy shirts where other methods need an underbase.
Where it beats the alternatives
- Photographic or gradient-heavy artwork that would require halftones on a screen press
- Orders under a dozen pieces where setup cost dominates the quote
- Dark and colored garments, thanks to the printed white layer
- Mixed orders where the same design goes on cotton tees, tote bags, and hoodies in different fabric blends
Where it falls short
DTF is not the right answer for everything. Very stretchy performance fabrics, nylon, and heavily coated water-repellent shells will reject the adhesive. Large solid blocks of ink on a lightweight tri-blend can feel heavier than a screen print. And if you are producing five hundred identical one-color shirts, traditional screen printing will almost always be cheaper per unit. Knowing when to say no is part of running a shop well.
Film, Powder, and the Details That Decide Quality
Most DTF problems trace back to one of three things: moisture, powder coverage, or press pressure. None of them are exotic, and all of them are fixable once you know what to look for.
Moisture is the silent killer
PET film absorbs humidity from the air, and damp film produces transfers that crack within a few washes. If your shop sits in a humid climate or your film has been open for weeks, store it in a sealed bag with a desiccant pack. Print in a room that is not next to a steam press or a laundry dryer vent. A small hygrometer costs less than a single ruined run of hoodies.
Powder coverage, not powder quantity
The instinct when a transfer peels is to add more adhesive powder. That usually makes things worse. Excess powder that does not melt into the ink sits loose on the film and transfers as a rough, gritty texture on the garment. You want an even, thin coating that looks slightly glossy after melting, with no visible dry patches. Shake the film gently rather than dumping powder on, and always cure the powder fully before stacking films.
Press settings that actually work
Manufacturers publish ranges, and those ranges are a starting point, not gospel. A typical press runs around 150 to 160 degrees Celsius for 10 to 15 seconds on the transfer step, followed by a cold peel. But platen thickness, fabric weight, and press calibration all shift the sweet spot. Invest in an infrared thermometer to verify what your platen is actually doing, because a press reading 160 on the dial may be running 145 on the surface.
Pressure matters just as much. Too little pressure and the adhesive never reaches the fibers. Too much and the ink spreads, blurring fine detail and creating a hard edge. Aim for firm, even contact across the platen, and use a pressing pad under thin garments so the fabric can compress slightly.
Choosing Fabrics and Setting Expectations
Cotton is the easiest fabric for dtf transfers. 100% cotton jersey, ringspun cotton, and cotton-heavy blends all bond well and hold up through repeated washing. Polyester is more complicated: the adhesive bonds to the fiber, but the ink sits on top and can look slightly different in sheen. On 100% polyester, especially dark polyester, reduce press temperature a little and expect a slightly softer hand after the first wash.
Where shops get into trouble is promising DTF on everything. Stretch fabrics like spandex blends will crack if the print crosses a high-stretch zone, because the ink film does not stretch as far as the fabric. The fix is not a better transfer, it is design placement. Keep large prints off the highest-stretch areas, or choose a smaller chest logo instead of a full back panel.
Wash testing before you promise anything
Before you take a fifty-piece order, press three test pieces and wash them. One cold wash and hang dry, one warm wash and tumble low, one warm wash inside out. Check for edge lifting, cracking across the design, and color shift. This takes an afternoon and will tell you more about your settings than any spec sheet. Shops that skip this step are the ones leaving one-star reviews about peeling after two washes.
Storage, Shipping, and Workflow
Printed film has a shelf life. Stored flat, dry, and away from heat, most transfers stay usable for months, but they do degrade. Keep them in a cool drawer or a sealed bin, not on a windowsill or in a hot car. If you are shipping transfers to a customer who presses at home, include a small instruction card with temperature, time, and peel method. That single card prevents most support messages.
On workflow, the biggest upgrade for a small shop is batching. Print all the films for a day's orders in one session, powder them together, then press in a second session. Switching between printing and pressing breaks your rhythm and doubles your cleanup. If volume grows, a dedicated powder shaker and a film cutter pay for themselves quickly.
When Customers Ask About Local Options
Plenty of buyers search for dtf transfers near me because they want fast turnaround or want to see samples in person before committing to a supplier. If you run a shop, that search behavior is worth understanding. Local pickup, same-week turnaround, and the ability to hand someone a physical sample are real advantages over ordering from a warehouse three states away. If you are the buyer instead, ask any local printer three questions: what film brand they use, how they store it, and whether they will send a wash-tested sample. The answers separate serious shops from hobbyists.
For shops building a supplier relationship, consistency matters more than rock-bottom pricing. A supplier whose white layer is reliably opaque and whose film does not curl at the edges will save you more money in reprints than a cheaper roll ever will.
Frequently Asked Questions
Can I use DTF transfers on shirts that are not 100% cotton?
Yes, and most shops do. Cotton-poly blends from 50/50 to 65/35 press well and feel good. The main adjustment is temperature: drop a few degrees on high-polyester garments to avoid scorching or excessive sheen. Very stretchy performance fabrics and coated nylon are the exceptions where bonding is unreliable.
How long do DTF transfers last on a shirt?
With correct pressing and normal care, a well-made transfer typically survives dozens of wash cycles without significant fading or cracking. Longevity depends heavily on the fabric, the powder cure, and whether the garment is washed inside out in cold water. Hot water and high dryer heat are the two fastest ways to shorten the life of any heat-applied print.
Do I need a special printer to make DTF transfers?
You need a printer designed for DTF pigment inks and a film-compatible ink path, plus a powder application setup and a heat source to melt the adhesive. Converting a standard desktop printer is possible but usually not worth the reliability headaches. Many small shops start by buying finished transfers from a supplier and only invest in their own printer once volume justifies it.
Why is my transfer peeling at the edges after washing?
Edge lifting almost always points to one of three causes: uneven pressure during pressing, insufficient time or temperature, or damp film. Check that your platen is level, verify surface temperature with an infrared thermometer, and store film in a sealed bag with desiccant. Pressing the edges a second time with firm pressure often resolves borderline cases.
Can I stack or store pressed transfers for later use?
Yes, as long as they are fully cured, kept flat, and stored dry. Stack them with the printed side facing up or interleave with parchment if you are worried about sticking. Avoid heat sources and direct sunlight, and use older stock first. Film that has absorbed moisture will show it as curling or wavy edges, which is your cue to dry it before pressing.